How to Take a 360° Photo with Insta360 X3

Disclaimer: This is not a paid ad by Insta360. We’ve been working with 360° images since 2013 and from our experience, we think that Insta360 X3 is a consumer camera that produces the most decent image for training purposes.
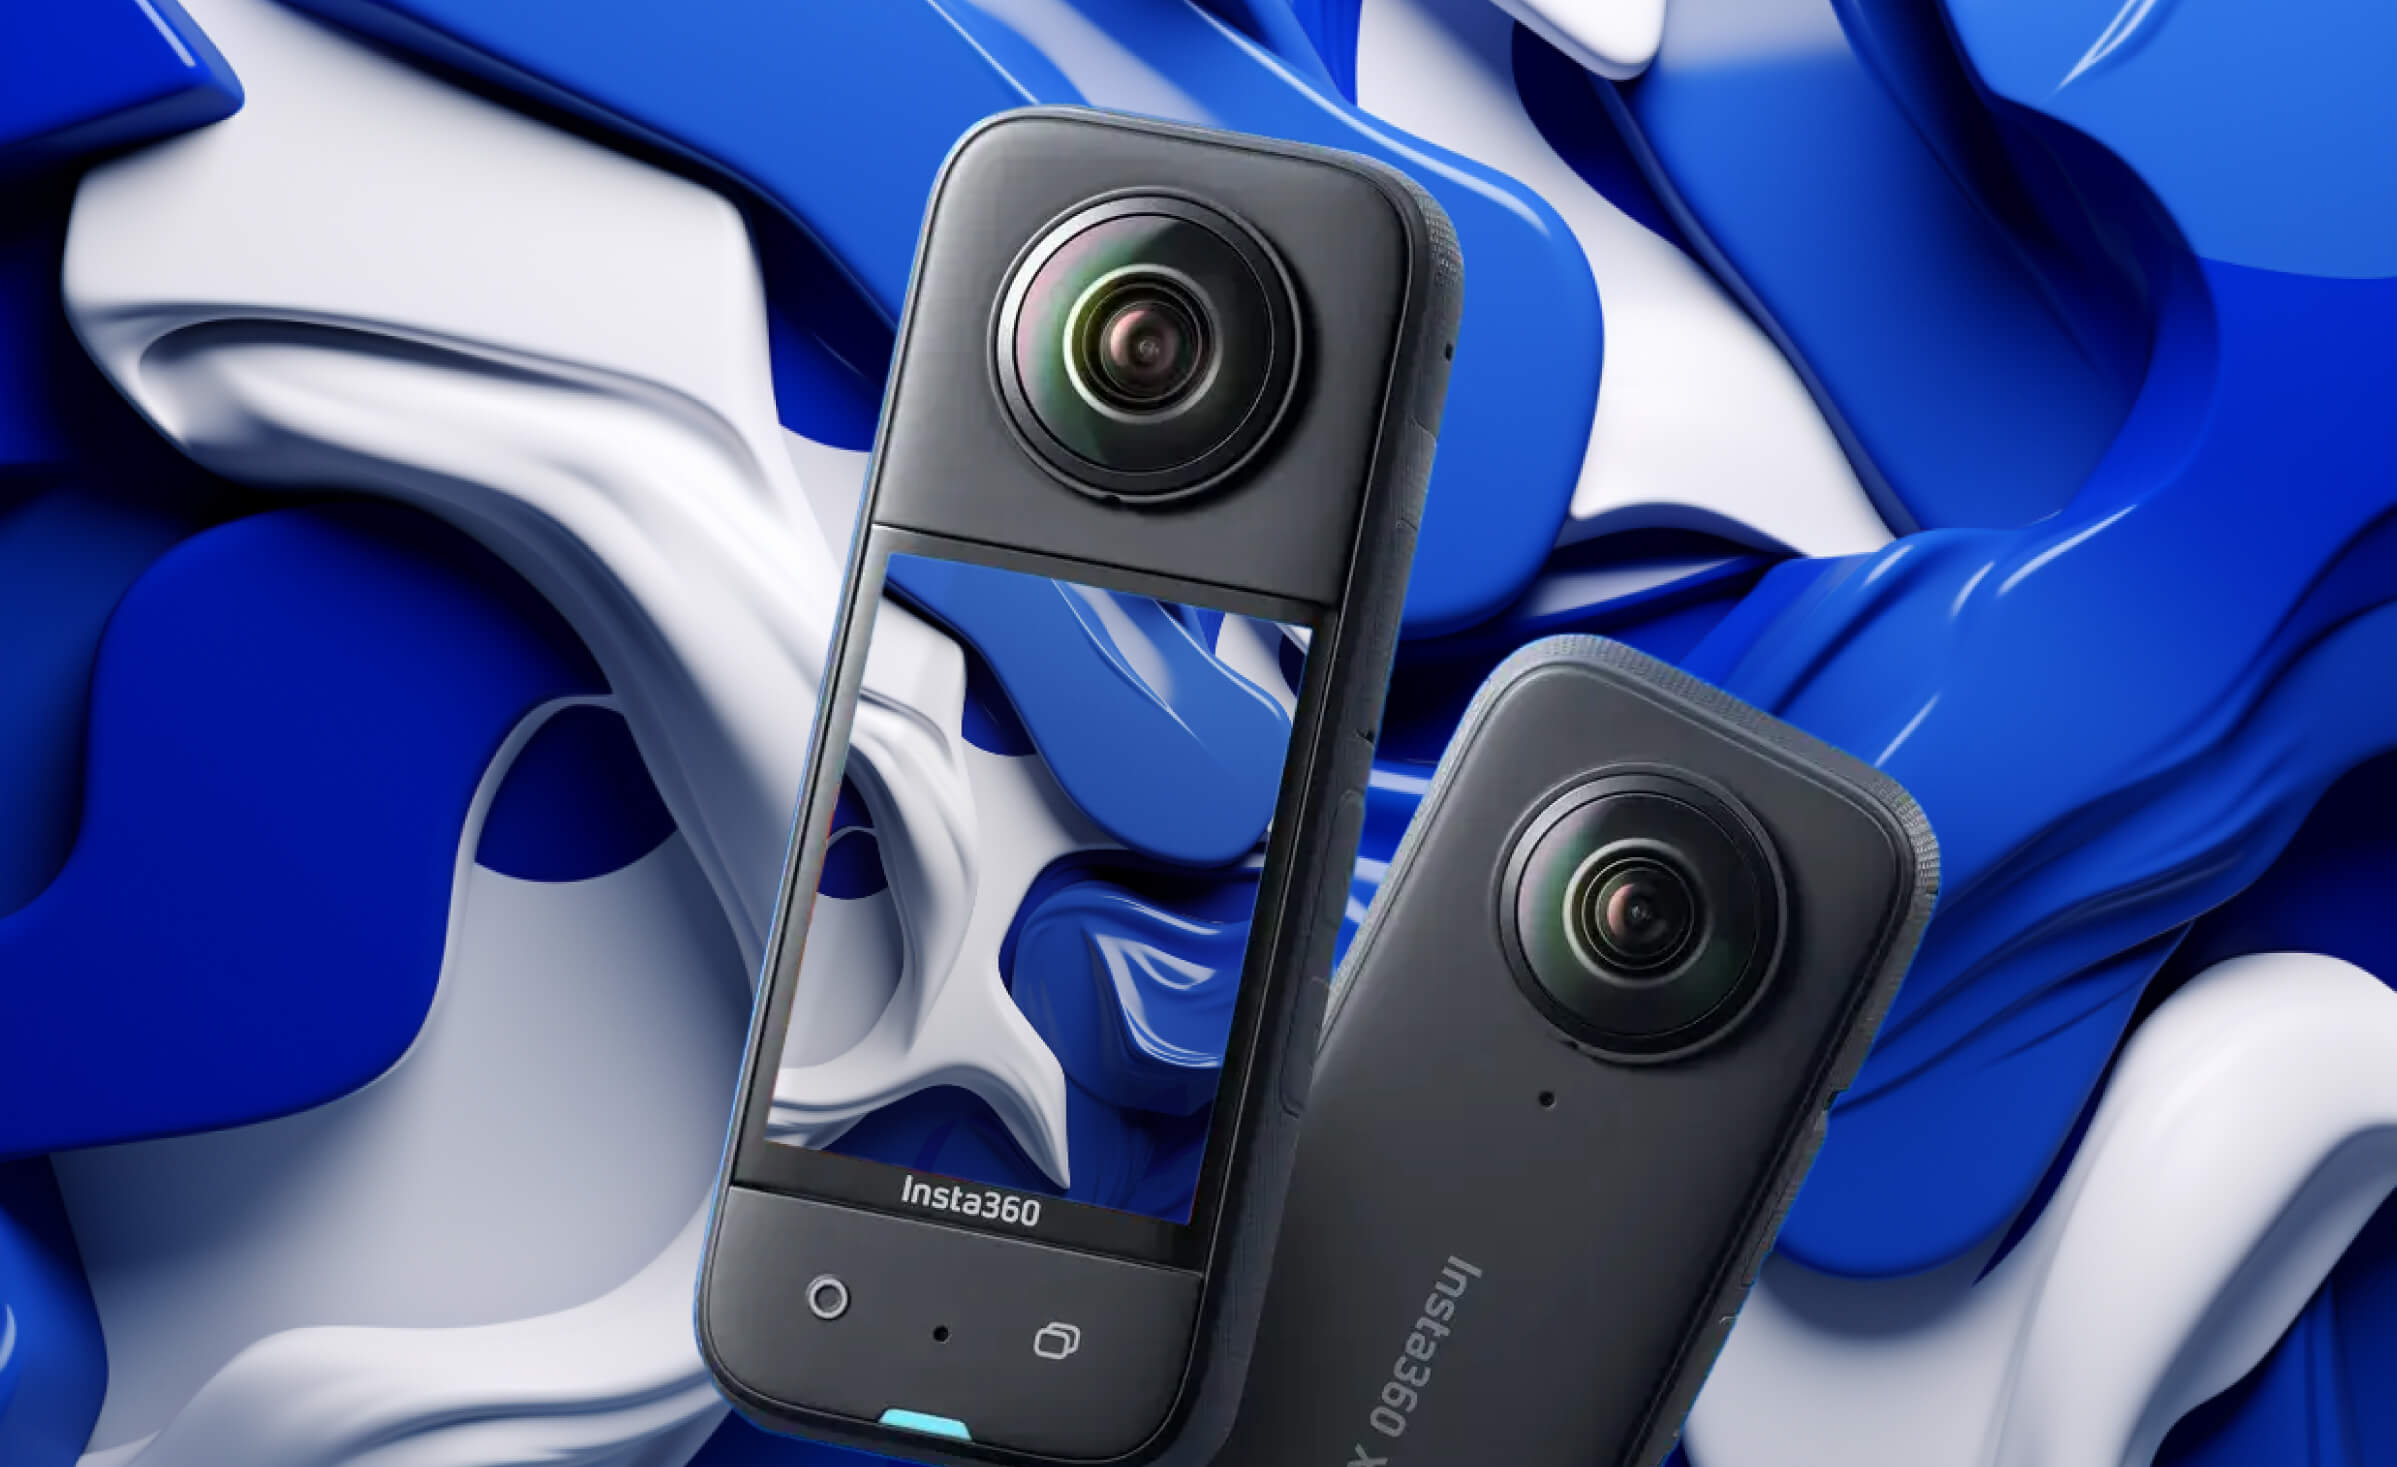
As you may have learnt in our article about 360° images, Insta360 X3 is a consumer 360° camera that allows you to take a 360° photo quickly and easily.
360° image is important if you want to build immersive courses in Panomio. This image creates a visual background for your content. See the example here.
Using a 360 camera is one of the ways to produce a 360° image that you will use to build your course. Learn about all options here.
Insta360 X3 is easy to use and produces a picture in a format that is ready to be uploaded in Panomio.
It literally takes seconds to produce a 360° image using Insta360 X3.
Although Insta360 X3 has one of the highest resolutions among 360° consumer cameras, the image resolution may not allow you to zoom into details. However, the overall picture quality works well for most scenarios.
The final image resolution should be about 72 megapixels.
Before the photoshoot
- Buy/rent the Insta360 X3 and micro SD card.
- Buy/rent a tripod to hold the camera. We recommend a lightweight tripod with a compact tripod head, so it covers as little space as possible. If you are photographing on a flat surface, it’s often not required to adjust tripod legs, leading to even better results using a tripod for lights.
- Download the Insta360 camera control app for iOS or Android.
- Get familiar with the Insta360 app. Set it up so you can capture 360 images in 72MP(12K) resolution. Regarding format, select Pureshot - this will allow you to apply the Pureshot effect later in post-production. Auto setting will do the job most of the time. If you are an experienced photographer, you can shoot manually. Remember to keep the ISO setting as low as possible.
- Get access to the facility you want to take a picture of.
- Download desktop Insta360 STUDIO software.
How to take the picture
- Prepare the area
Make sure the area you photograph looks exactly like you would like it in the course. Remove any elements that are not necessary and make sure the area is clean. It’s easier and faster to clean the area in advance rather than removing it later in post-production. - Prepare the equipment
Mount the camera on the tripod, turn the camera on and open the Insta360 camera control app on your phone. Choose the desired height of the camera. - Preview and shoot
Preview and the scene in your phone and make sure you can see everything that will be described in the course. Hide so you are not visible in the scene and capture the image.
How to export the picture
- Connect the camera to the computer, or insert an SD card into the card reader.
- Open Insta360 STUDIO and import the picture in DNG format.
- Make sure the Pureshot effect is applied (look for an icon on the screen).
- Export the picture. You don’t have to change any settings and your picture should have 11968x5984 pixels.
- Both DNG and JPG will be exported. You can use DNG to retouch and do other advanced post-production techniques in Photoshop (or similar software) if you are proficient. Otherwise, upload JPG to Panomio and start developing courses.
Here is the link to basic operation of Insta360 X3.
If you need any tips, you can send us an email at info@panomio.com or you can also request a meeting here.
Before you get your own 360° image, you can download the samples for testing here.
Ready? Upload 360° image in Panomio
- Log in Panomio
- Navigate to Scenes in the menu on the left
- Click Upload New in the top right corner
- Click Click to upload and select the image from your computer
- Click Next
- Name your scene and click Upload
- To use the scene in a project, navigate to Projects in the menu on the left
- Click Create new project
- Name your project and select the scene you want to work with
- Click Create new
- Open the project by clicking it
We are here to help
Over the years we have done many 360° photoshoots for our clients and will be happy to share some tips with you. If you have any questions you can send us an email at info@panomio.com or you can also request a meeting here.


